How to Add a Table to Your Squarespace Website
Updated March, 2026
Adding a table in Squarespace isn’t as straightforward as you might expect.
There’s no native table block, which means if you want to display structured data (like pricing charts, size guides, or comparisons), you’ll need a workaround.
The good news?
It’s actually much easier than it sounds—and you don’t need to write code from scratch.
In this tutorial, I’ll walk you through exactly how to add a fully customizable table to your Squarespace site using a simple HTML generator and a bit of copy-and-paste code.
| Size | XS | S | M | L |
|---|---|---|---|---|
| UK | 6 | 8 | 10 | 12 |
| US | 2 | 4 | 6 | 8 |
Is there a table block in Squarespace?
The short answer is no. Squarespace is designed to be visual and flexible—but when it comes to structured data like tables, it falls a bit short.
Instead of a built-in solution, we use:
An HTML table generator (to build the table)
A code block (to insert it into your page)
A bit of CSS styling (to make it match your site)
Don’t worry—I’ll guide you through each step.
Can I use an image instead of code for my table?
If your table is small and contains minimal text, using an image can work well. However, for more complex tables, you’ll need a responsive solution. Otherwise, your table will be hard to read on smaller screens.
Step 1: Add a Code Block to Your Page
Start by heading to the page where you want your table to appear.
Click Edit
Add a Code Block
Paste in the following code.
<div class="custom-table">
  CODE GOES HERE
</div>
This code wraps your table in a custom class (like custom-table) so we can style it later.
Click Save for now—we’ll come back to it.
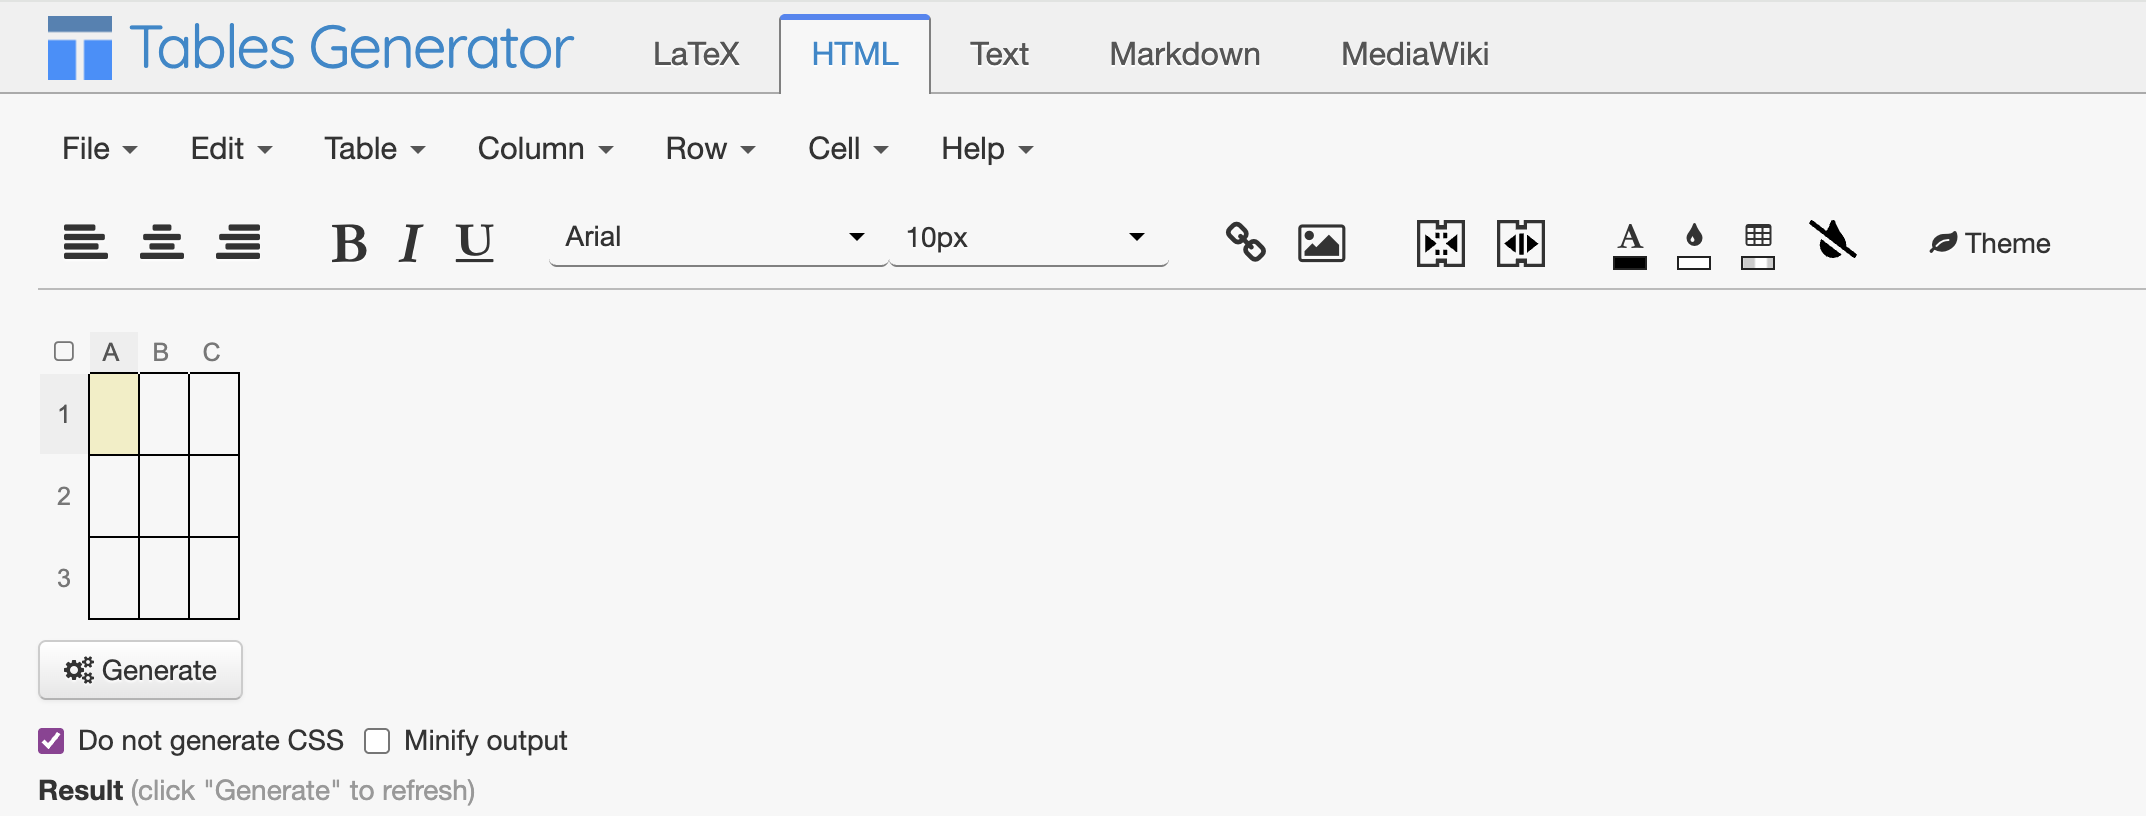
Step 2: Generate Your Table
Next, you’ll use an external HTML table generator. This tool builds the table structure for you—no manual coding required.
What to focus on:
Add your content (text, links, images)
Set up your rows and columns
Keep your layout simple and mobile-friendly
Tip: Don’t worry about fonts or styling here. Squarespace will handle that later.
Step 3: Add Images (Optional)
If you want to include images inside your table, you will need to host the images in Squarespace and add the image link into the HTML Generator.
Upload your image in Squarespace:
Go to Design → Custom CSS
Click Manage Custom Files
Upload your image
Click on the image to generate the link you need in the Custom CSS box
Copy this link and then delete it from the Custom CSS Box
2. Paste it into the table generator’s image field
You can also:
Add alt text (great for SEO + accessibility)
Adjust width/height while keeping proportions
Tip: The image should be simple. Keep in mind that this image needs to fit within the table on mobile as well.
Step 4: Add Links (Optional)
To include links in your table:
Highlight the text in the generator
Click Link
Paste your URL
Choose whether it opens in a new tab
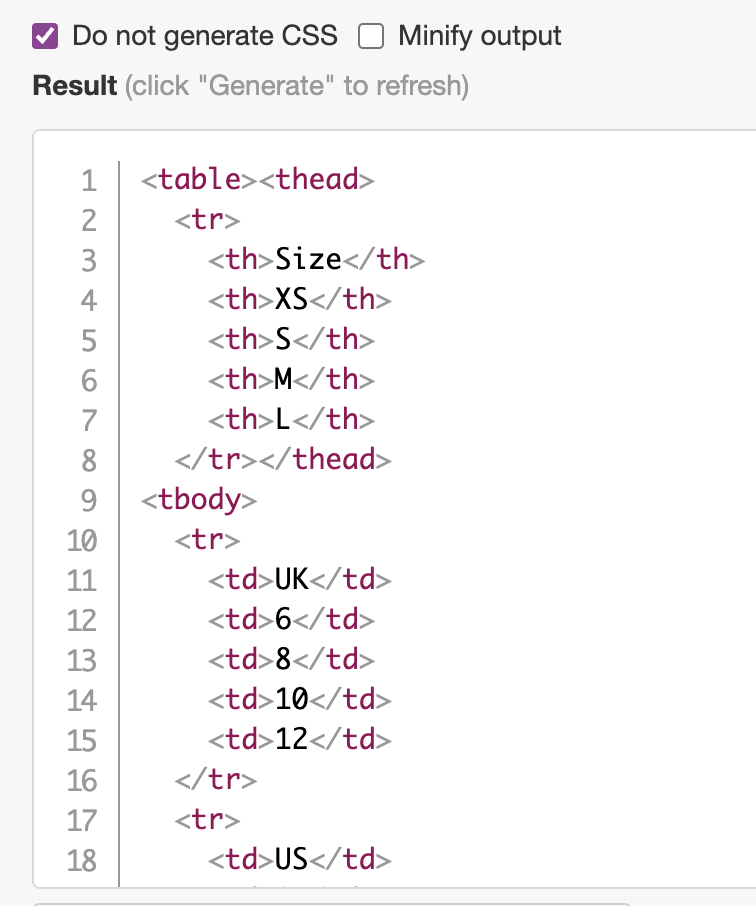
Step 5: Generate and Copy the Code
Once your table content is ready:
Select “Do NOT generate CSS”
Click Generate
Copy the HTML code
Important: You want clean HTML without extra styling code.
Step 6: Paste Into Your Code Block
Go back to your Squarespace page:
Open your Code Block
Delete the placeholder text
Paste in your generated table code
Click Done → Save
At this point, your table will look pretty plain—that’s normal.
Step 7: Style Your Table with CSS
Now it’s time to make your table actually look good.
Paste the provided CSS into Design → Custom CSS
/* Size Table */
.custom-table table {
  width: 100%;
  table-layout: fixed;
  tr,
  td,
  th {
    padding: 1vw;
    text-align: center;
    border: 2px solid black;
  }
  thead {
    background-color: grey; /*background color of titles */
    color: white; /*font color of titles */
  }
  tbody tr:nth-of-type(2n-1) {
    background-color: white; /* background color of white rows */
    color: grey; /* font color of white rows */
  }
  tbody tr:nth-of-type(2n) {
    background-color: grey; /* background color of purple rows */
    color: white; /* font color of purple rows */
  }
}
@media only screen and (max-width: 640px) {
  .custom-table table {
    tr,
    td,
    th {
      font-size: 0.8rem; /* Font Size on Mobile */
    }
  }
}
Then go through the CSS to modify it for your site. Here’s what you can customize:
Layout & Structure
Make the table fill the full width
Keep columns evenly sized (or remove for dynamic sizing)
Spacing
Adjust padding inside each cell
Text Alignment
Center, left, or right align content
Borders
Change thickness (e.g., 2px → 1px)
Update colors to match your brand
Header Row Styling
Background color
Font color
Alternating Row Colors
Improve readability with “striped” rows
Or remove entirely for a clean look
Step 8: Optimize for Mobile
Tables can get cramped on smaller screens, so this step is key.
In your CSS, you can:
Adjust font size for mobile
Ensure content stays within the container
If your table has:
Too many columns
Large images
Large text
…it may break on mobile. So, keep it simple for the best results.
Once everything is styled and saved, you’ll have a fully functional, responsive table inside Squarespace—without needing a plugin or complicated code.